Quickstart
Explore the pinnacle of chain-abstracted product journeys built with Tria's front-end, plug-and play SDKs. Build chain abstracted applications and rollups that harness users and liquidity from all VMs – all while natively settling on the chain of your choice. Abstract complex user onboarding effortlessly with Tria Core SDK's seamless integration — an inbuilt interface tailor-made to seamlessly plug into your React.js, Next.js, or any client-side app.
Tria is invite only. Apply to get access by using this form or getting in touch – Request access.

Installation
First, install the Tria Authenticate SDK for React and its peer dependencies:
npm install @tria-sdk/authenticate-react@latest @tria-sdk/connect @tria-sdk/utils @wagmi/[email protected] @wagmi/[email protected]
Setting Up Tria
1. Wrap Your App with TriaProvider
In your main App component, wrap your application with the TriaProvider:
import React from 'react'
import { TriaProvider, TriaAuthModal } from '@tria-sdk/authenticate-react'
import '@tria-sdk/authenticate-react/dist/style.css'

const App = () => {
  return (
    <TriaProvider
      initialConfig={{
        analyticsKeys: {
          clientId: 'YOUR_CLIENT_ID', // required. please contact tria for keys
          projectId: 'YOUR_PROJECT_ID', // required. please contact tria for keys
        },
        chain: 'FUSE', // required
        environment: 'testnet',
        aa: {
          pimlicoApiKey: 'YOUR_PIMLICO_API_KEY',
          isSponsored: true,
          sponsorshipPolicyIds: {
            FUSE: 'sp_cheerful_thing',
            POLYGON: 'sp_slim_namor',
          },
          accountType: 'Etherspot',
          supportAa: true,
        },
      }}
      initialUIConfig={{
        modalMode: true,
        darkMode: true,
      }}
      initialWalletUIConfig={{
        darkMode: true,
      }}
    >
      <YourAppComponent />
      <TriaAuthModal />
    </TriaProvider>
  )
}

export default App
Make sure to replace YOUR_CLIENT_ID, YOUR_PROJECT_ID, and YOUR_PIMLICO_API_KEY if you are utilising account abstraction with your actual credentials.
2. Using Tria Hooks in Your Components
Now you can use Tria hooks in your components. Here's an example component showcasing various Tria functionalities:
import React, { useState } from 'react'
import { useTriaAuth, useTriaWallet } from '@tria-sdk/authenticate-react'

const YourAppComponent = () => {
  const { logout, getAccount, showAuthModal, isAuthenticated } = useTriaAuth()

  const handleShowAuthModal = async () => {
    try {
      await showAuthModal()
    } catch (error) {
      console.error('Login failed', error)
    }
  }
  const handleDisconnect = async () => {
    try {
      await logout()
    } catch (error) {
      console.error('Logout failed', error)
    }
  }

  const handleGetAccount = () => {
    const account = getAccount()
    console.log('Account:', result)
  }

  useEffect(() => {
    console.log('isAuthenticated', isAuthenticated)
  }, [isAuthenticated])

  return (
    <div>
      <h2>Tria Interface</h2>
      <button onClick={handleShowAuthModal}>Show Auth Modal</button>
      <button onClick={handleDisconnect}>Disconnect</button>
      <button onClick={handleGetAccount}>Get Account</button>
    </div>
  )
}

export default YourAppComponent
Key Features and Hooks
Authentication
- Use
useTriaAuthhook for authentication-related functions:showAuthModal(): Display the authentication modallogout(): Log out the current usergetAccount(): Get the current user's account detailsisAuthenticated: Check if a user is authenticated
Configuration
- Use the
configure,configureUI, andconfigureWalletUIfunctions fromuseTriaAuthhook to dynamically update configurations.
Best Practices
- Always handle errors gracefully, especially for blockchain interactions.
- Use environment variables to store sensitive information like API keys.
- Implement proper state management to handle authentication status across your app.
- Utilize the
userStatefromuseTriaAuthto react to authentication changes.
Next Steps
- Explore advanced features like custom UI configurations and account abstraction.
- Integrate Tria's wallet functionality into your DApp's core features.
- Implement proper error handling and user feedback for a smooth user experience.
Guide for supported libraries
React
Open-source JavaScript library for building dynamic user interfaces with reusable components. Utilise our react SDK to make full use of reactivity, hooks and global providers.

Next.js
Extending React's capabilities for building server-rendered and statically generated web applications. Utilise our react SDK to make full use of reactivity, hooks and global providers

Multi Platform
If your project does not rely on a front-end framework, you may use our CDN link and web-components to integrate with your project.

Nuxt.js
Nuxt is an open source framework that makes web development intuitive and powerful. Create performant and production-grade full-stack web apps and websites with confidence.

Deployment
Deploying Tria on Vercel and Docker environments.
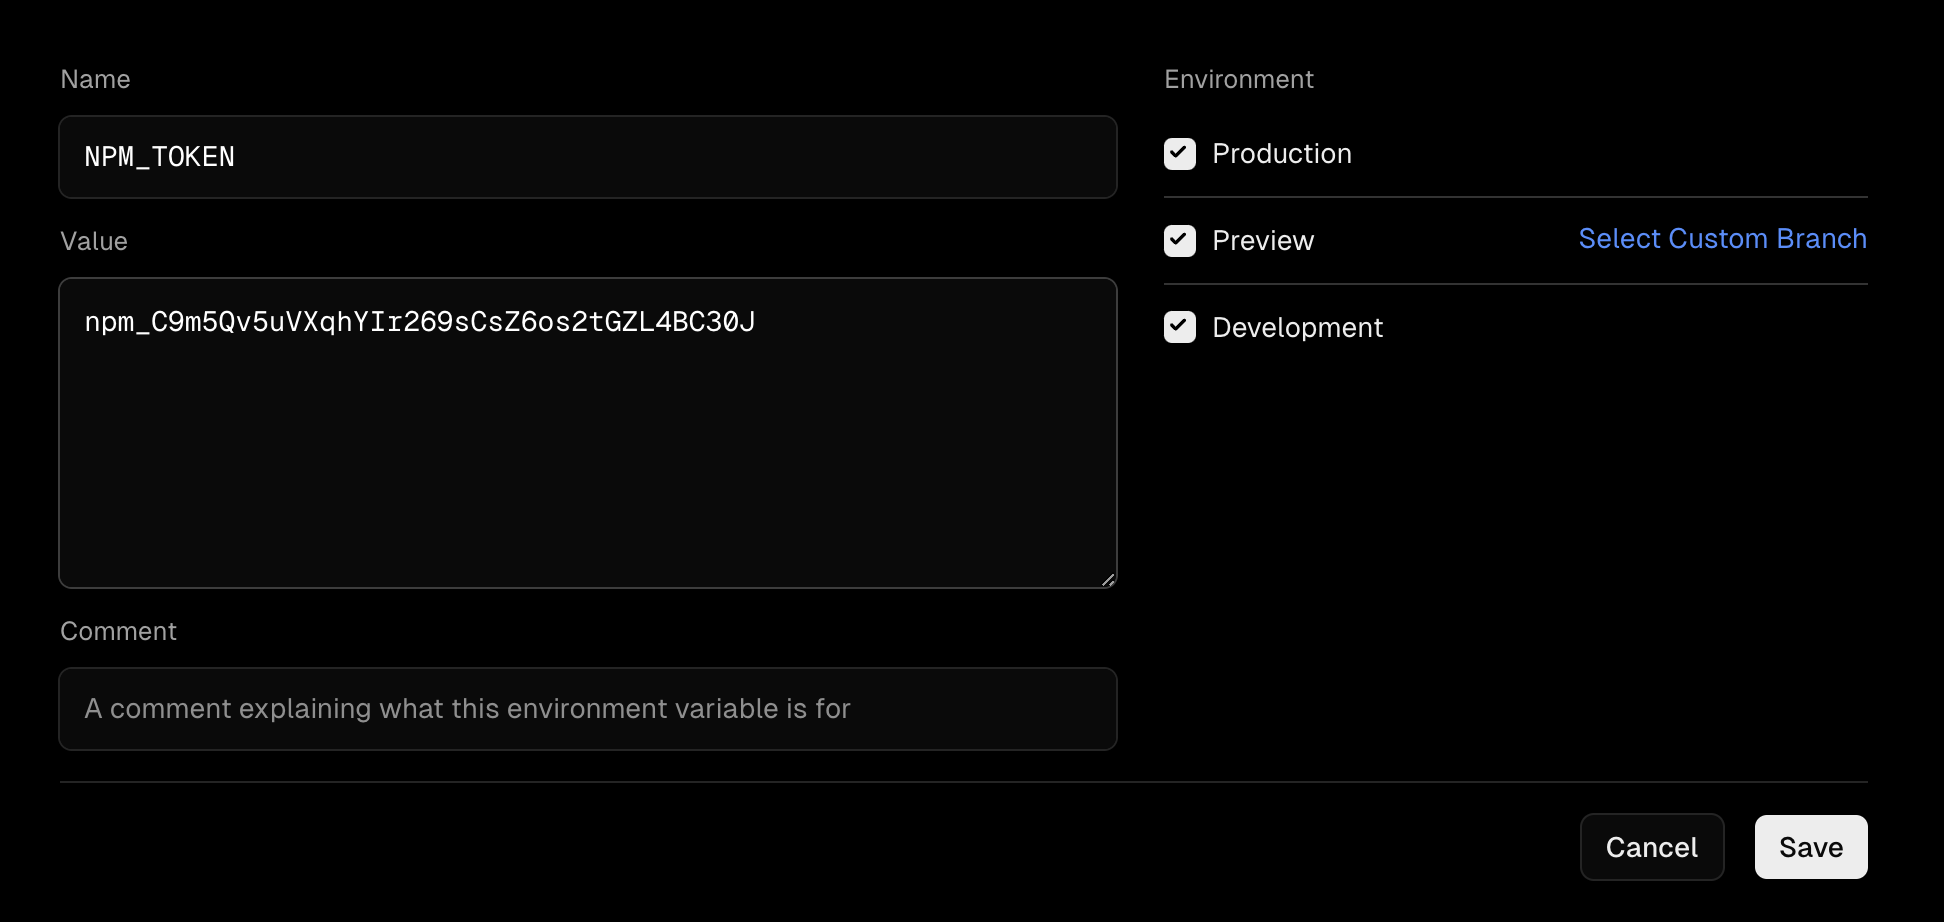
Deploying via Vercel
Add the following NPM_TOKEN in your environment variables on Vercel.
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
Deploying via Docker
Add the following code to your DockerFile
# Install dependencies based on the preferred package manager
COPY package.json yarn.lock* package-lock.json* pnpm-lock.yaml* ./
# RUN \
#     if [ -f yarn.lock ]; then yarn --frozen-lockfile; \
#     elif [ -f package-lock.json ]; then npm ci --force; \
#     elif [ -f pnpm-lock.yaml ]; then yarn global add pnpm && pnpm i; \
#     else echo "Lockfile not found." && exit 1; \
#     fi

COPY .npmrc ./
RUN npm i --force